How to replace op-amps
How to replace op-amps
Replacing op-amps is a precise but approachable process for anyone comfortable with component-level audio gear. It’s a way to alter the tonal character of a DAC, preamp, or headphone amplifier without changing the entire circuit. Because op-amps are socketed, the process requires no soldering, but it does demand patience, careful handling, and attention to orientation.
Handle with care
Op-amps require delicacy. Their terminal pins are thin, tinned legs that deform easily. Once bent, they can shear or fail to make contact with the socket. Always work slowly, and ground yourself to avoid electrostatic discharge, which can silently destroy a chip before it ever powers on. Always make sure the unit is powered off and unplugged.
Place your board on a clean, static-free surface. Avoid metal tweezers or ungrounded tools. The goal is to remove and replace the op-amp without applying torque, twisting, or side pressure to the pins or socket.
Identify orientation
Every op-amp package includes a visual indicator for pin one—usually a notch, dot, or beveled corner. This indicator determines the correct orientation of the chip within its socket.
For most dual inline (DIP) packages, align this indicator to the top-left corner of the socket. Installing the chip in the wrong orientation will reverse power and ground pins, instantly destroying it and potentially other components. When in doubt, photograph the original orientation before removal.
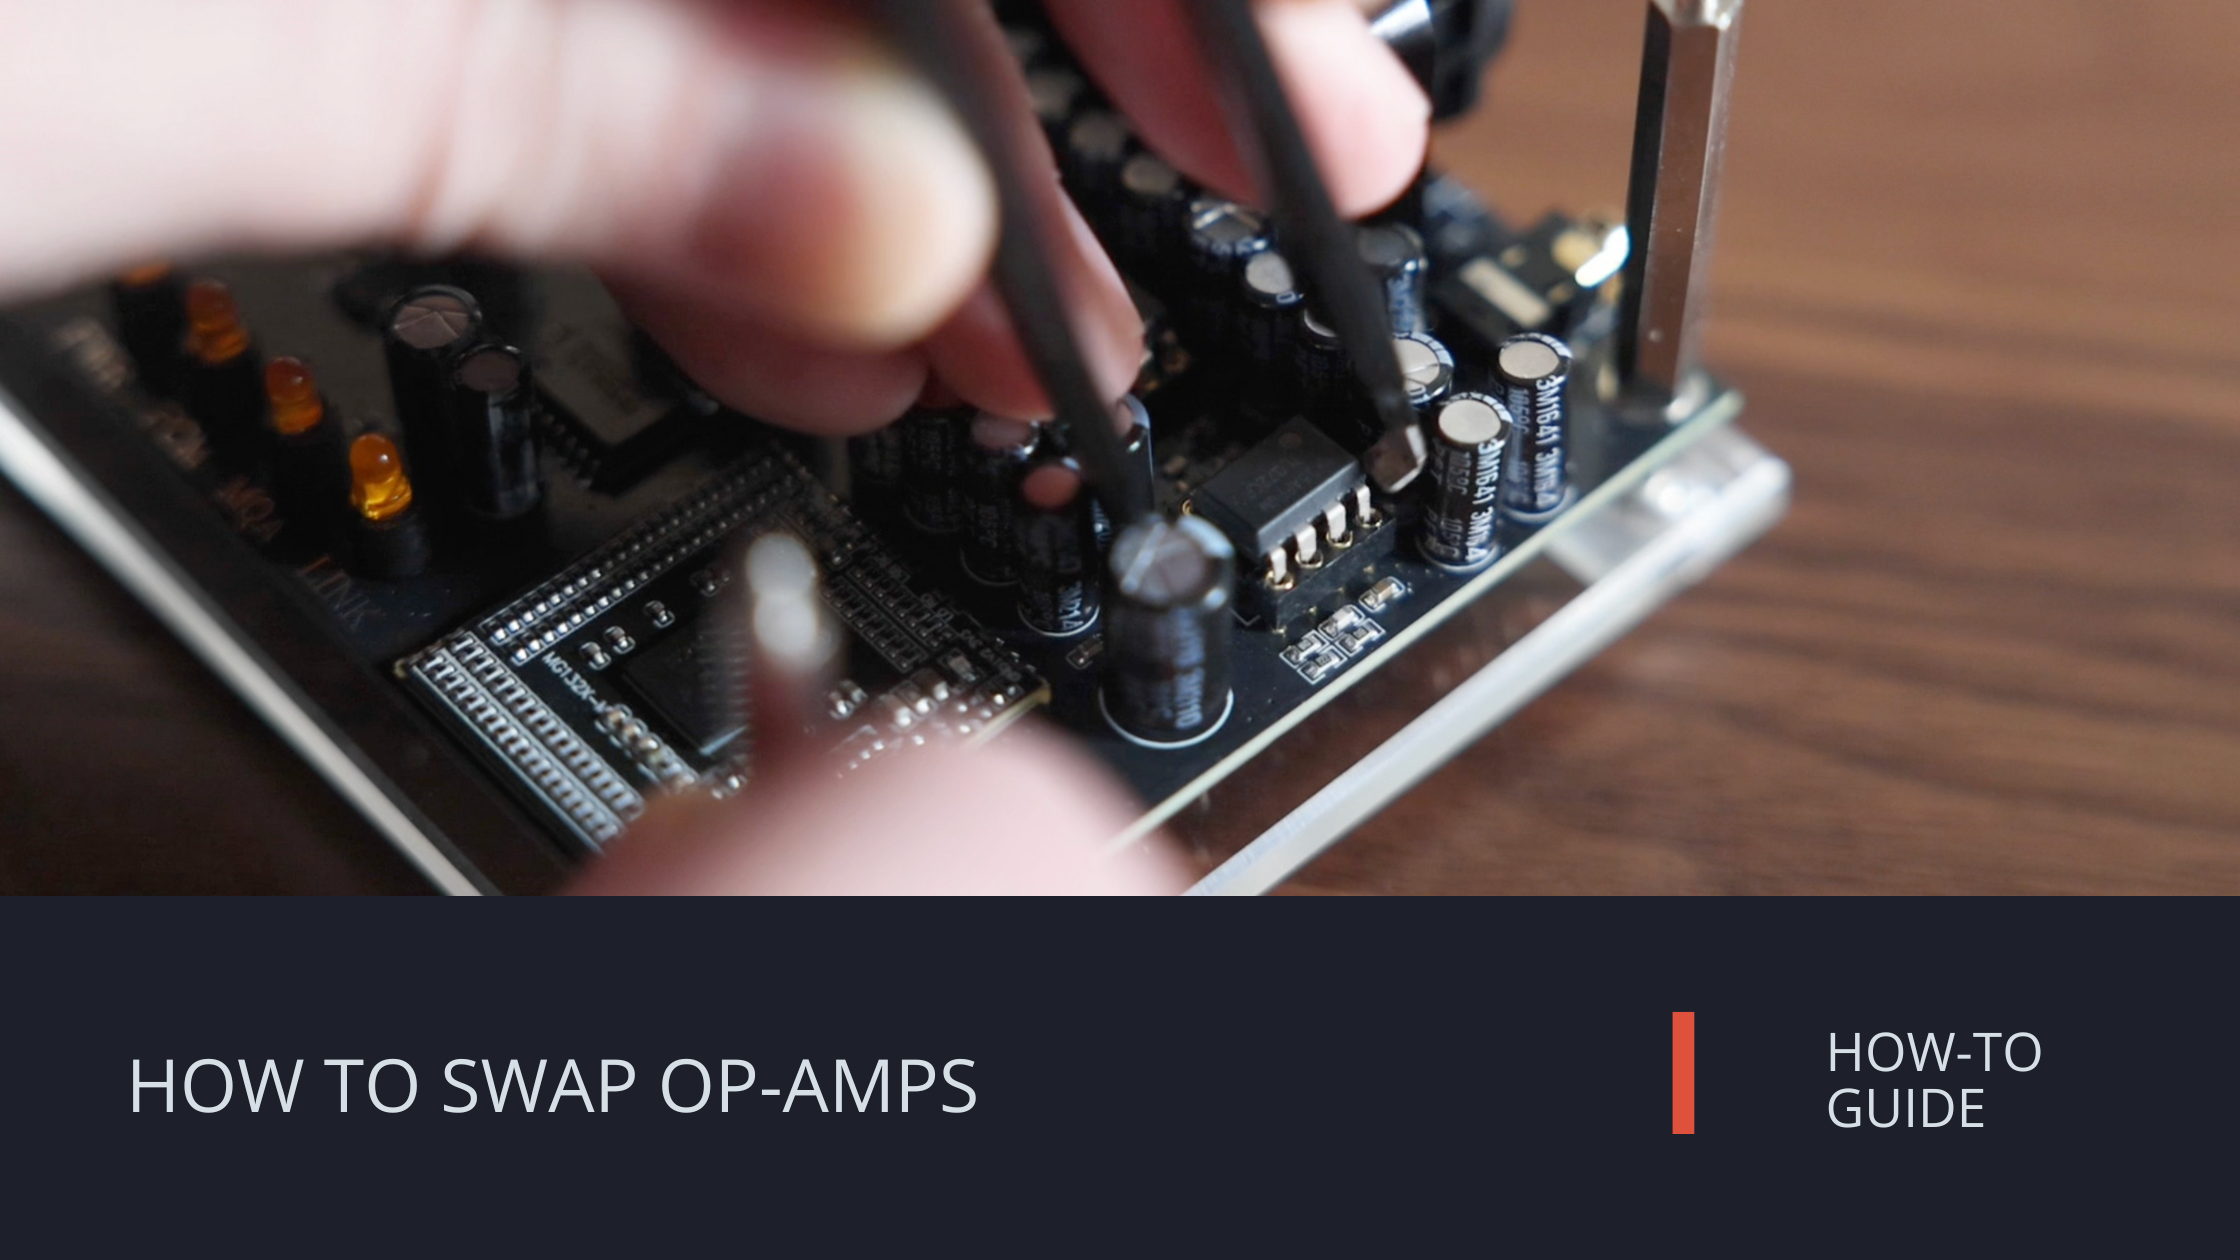
Using an op-amp puller
An op-amp puller grips both ends of the op-amp evenly, allowing for a vertical lift without bending pins. Position the hooks beneath the ends of the op-amp, squeeze gently to apply tension, and lift straight upward in small increments. Avoid prying from one side or twisting, which can crack the socket or misalign pins.
If a puller isn’t available, a pair of fine-tipped, insulated tweezers can work—though the margin for error narrows considerably. Even pressure and slow movement are the goal.
Installing an op-amp lift
An op-amp lift, sometimes called a socket extender, adds a small riser between the circuit board and the op-amp. It serves two purposes: improved airflow around the chip and easier access for future replacements.
To install one, first align the lift’s notch or indicator to the same top-left position as the socket. Press down evenly until it seats fully. Then align the op-amp’s indicator with the lift’s and insert the chip using even pressure on both sides. Never rock the op-amp into place. Press directly downward until all pins engage.
Final alignment and inspection
Before powering on, check your work under good lighting. Confirm that all pins are seated, none are bent or floating above the socket, and that every indicator aligns correctly. The chip should sit flush, with no visible gaps between it and the socket.
Once installed, the op-amp will operate as part of the gain and feedback path—small changes in its characteristics can subtly or significantly affect the sound. The mechanical part of the job ends here. Now it’s time to sit back, relax, and enjoy.