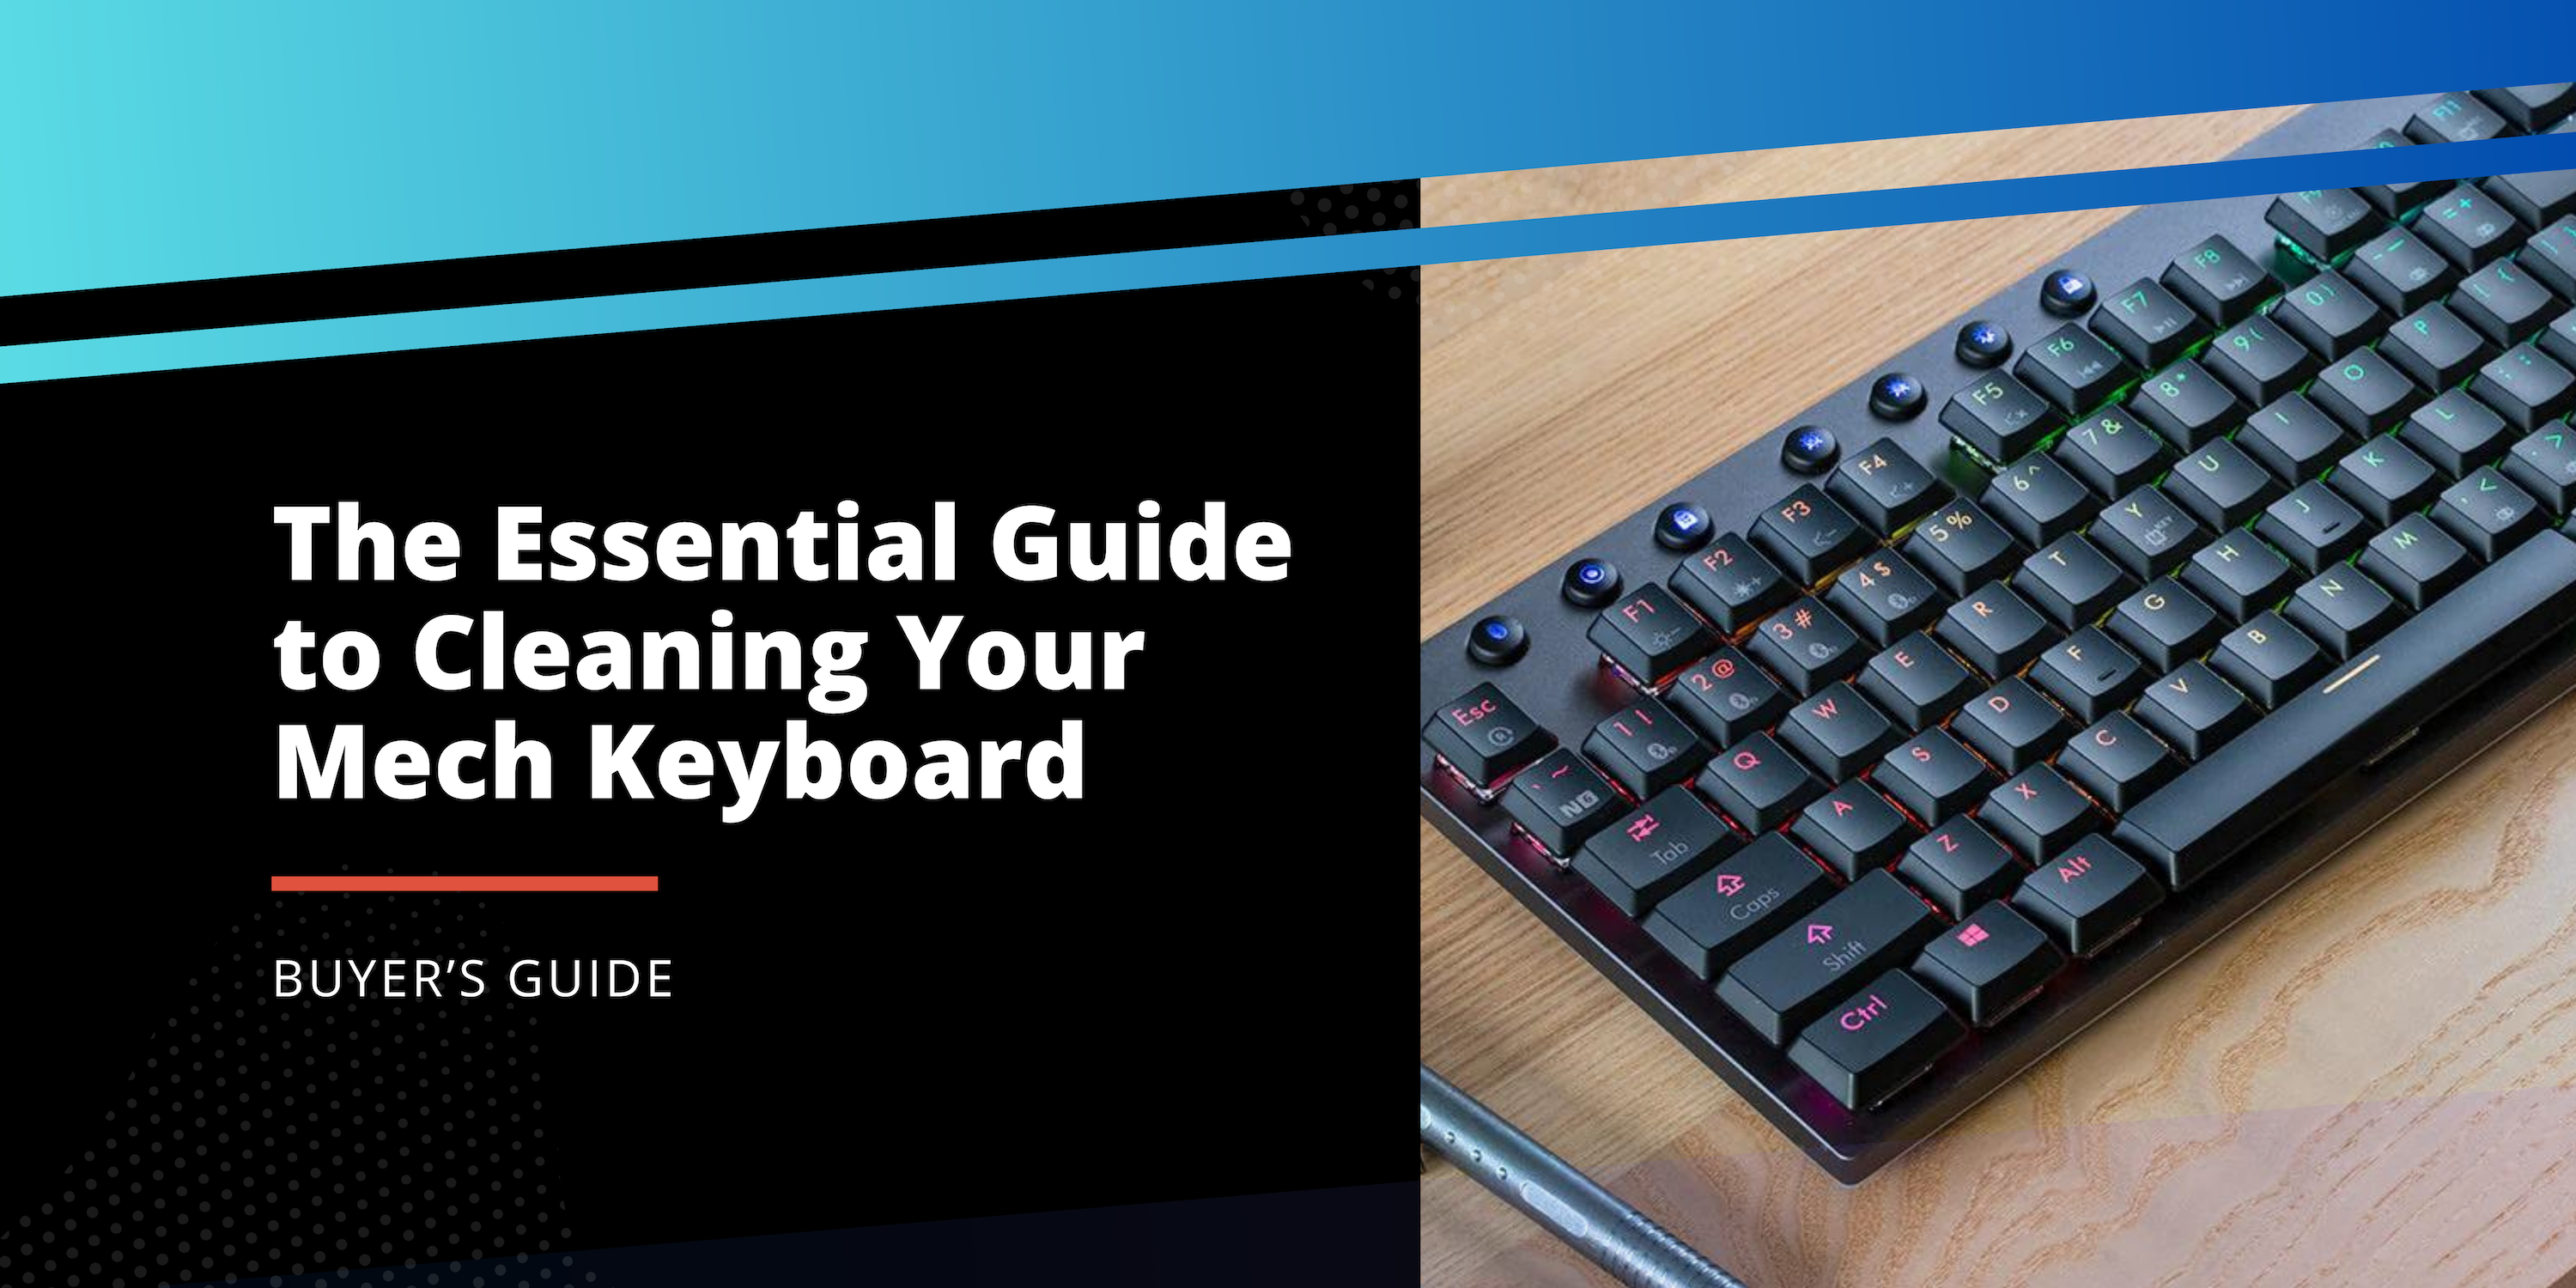
The Essential Guide to Cleaning Your Mechanical Keyboard
Your Guide to Cleaning Your Keyboard
Let's be honest: over time, our keyboards tend to accumulate the dust, oils, and tiny particles that our hands come into contact with every day. While we might not always think about it, periodically cleaning our keyboards is crucial not only for hygiene but also for the device's performance and longevity. Here’s how to keep your keyboard in top condition with two cleaning regimens: a quick touch-up and a thorough deep clean.
Method 1: Quick Refresh
Ideal for clearing out light dirt and debris, this method helps in maintaining the keyboard's overall cleanliness when done every couple of weeks.
- Safety First: Disconnect the keyboard from your computer.
- Shake Off the Debris: Invert the keyboard and give it a gentle tap over a bin to dislodge loose particles.
- Blast the Dust: With canned air, direct short bursts between the keys to free trapped dust and hair.
- Vacuum the Surface: Use a handheld vacuum's small nozzle to pick up debris nestled between the keys.
- Gel-Based Cleaning: Keyboard cleaning gels are handy for picking up particles from challenging spots.
- Wipe Down: Dampen a microfiber cloth with a cleaning solution (remember, always apply to the cloth and not directly to the keyboard) and gently wipe the keyboard.
- For the Stubborn Spots: A q-tip moistened with cleaning solution can help address the grime settled in between keys.
- Dry Off: Ensure no moisture remains by wiping the keyboard with a dry microfiber cloth.
Method 2: The Deep Dive
Every few months, give your keyboard a comprehensive clean to ensure it remains germ-free and functions at its best.
- Disconnect: Before starting, ensure your keyboard is unplugged.
- Keycap Removal: With a keycap puller, gently remove all the keycaps.
- Soak Session: Prepare a mixture of lukewarm water and mild dish soap. Let the keycaps soak in this solution for 3-4 hours.
- Switch Care: If you notice dirt on your switches, lightly brush them with a dry Q-tip or utilize canned air. It's crucial to avoid using any liquid solutions on the switches.
- Shake Out Debris: As in the quick refresh method, invert your keyboard and gently tap out any debris.
- Vacuum or Blow Away Debris: Choose between a handheld vacuum, compressed air, or even tweezers to clear out stubborn particles.
- Gentle Cleaning: Moisten a microfiber cloth with an all-purpose cleaner and wipe the keyboard's non-electronic parts. Avoid spraying any solution directly onto the device.
- Dry and Replace: After soaking the keycaps, rinse them in clean water. Dry them using a cloth but leave them out to air-dry for 48 hours for optimal results. Once fully dried, place the keycaps back on your keyboard.
By routinely cleaning your keyboard using these methods, you'll not only extend its lifespan but also enjoy a more pleasant and hygienic typing experience.
Bonus Tips and Preventative Measures
- Workspace Hygiene: Regularly cleaning your desk or workspace can reduce the amount of dust and debris that eventually finds its way into your keyboard.
- Hand Hygiene: Before using your keyboard, ensure your hands are clean. This not only preserves your keyboard but also prevents the spread of germs.
- Keyboard Cover: Consider using a protective cover for your keyboard when not in use. This can shield it from dust and potential spills.
- Avoid Eating Near Your Keyboard: Crumbs and spills from food and drinks can severely affect a keyboard's performance. It's best to keep snacks and beverages away from your work area.
- Keyboard Feet: If your keyboard has adjustable feet, elevating them can prevent larger debris from getting under the keys.
- Regular Inspection: Every once in a while, inspect your keyboard for any signs of wear, especially on frequently used keys. Addressing issues early can extend your keyboard’s life.
By integrating these practices and routinely cleaning your keyboard, you'll ensure it has an extended lifespan and offers a hygienic, optimized typing experience.


